
Any raster image, one workflow
PNG, JPG, and WebP all take the same path. Transparency is respected, so cut-out artwork drops straight to the base instead of leaving a rectangular block.
IMAGE TO STL
Convert a picture into a printable STL with real millimetre dimensions, a live mesh preview, and manifold diagnostics before you slice.
Upload once and a printable relief STL starts building in this browser. Best for logos, portraits, terrain, signs, and lithophanes.
An STL file stores nothing but triangles, so converting an image means deciding how its pixels become height. IMG2STL reads each pixel’s luminance, maps it to a Z value between your base thickness and your relief height, and stitches the resulting height field into a closed shell with a floor and walls. Every control changes that mapping and rebuilds the mesh immediately, which is why the preview matches your download exactly.
IMAGE TO STL
Drag in a PNG, JPG, or WebP, paste from the clipboard, or start from a built-in sample.
Type the width, height, relief depth, and base thickness in millimetres and watch the mesh rebuild live.
Read the open-edge and manifold report, then export a binary STL straight into your slicer.
PNG, JPG, and WebP all take the same path. Transparency is respected, so cut-out artwork drops straight to the base instead of leaving a rectangular block.
Exports are binary rather than ASCII, so a detailed 200k-triangle plate stays a few megabytes instead of tens, and loads instantly in Cura, PrusaSlicer, or Bambu Studio.
Triangle count, bounding box, enclosed volume, open edges, non-manifold edges, and bed contact are all reported on the same screen as the export button.
Every slider rebuilds the real mesh in a worker thread. What you orbit is the file you download.
Width, height, relief depth, and base thickness are typed in real units, so the plate fits your bed the first time.
Open edges, non-manifold edges, degenerate faces, triangle count, volume, and bed contact are all reported.
Relief, lithophane, viewer, and converter work never leaves the browser. Only AI generation uploads anything.
Export binary STL, GLB, glTF, OBJ, or PLY, and convert between them without installing a modelling suite.
Unlimited local conversion with no watermark, no daily cap, and no account. Credits apply only to AI generation.
Relief mode extrudes brightness into height. AI mode reconstructs a full closed volume.
| Relief / Lithophane | AI 3D Object | |
|---|---|---|
| Best input | Logos, line art, portraits, terrain, height maps | Product shots, characters, props, toys |
| Output shape | Raised plate with a flat back | Closed volume with a real back and sides |
| Typical wait | Under 3 seconds | 40 seconds to 4 minutes |
| Where it runs | This browser only | Uploaded to the model provider |
| Cost | Free and unlimited | From 8 credits per model |
Four builds produced with the presets on this page, exported as printed.
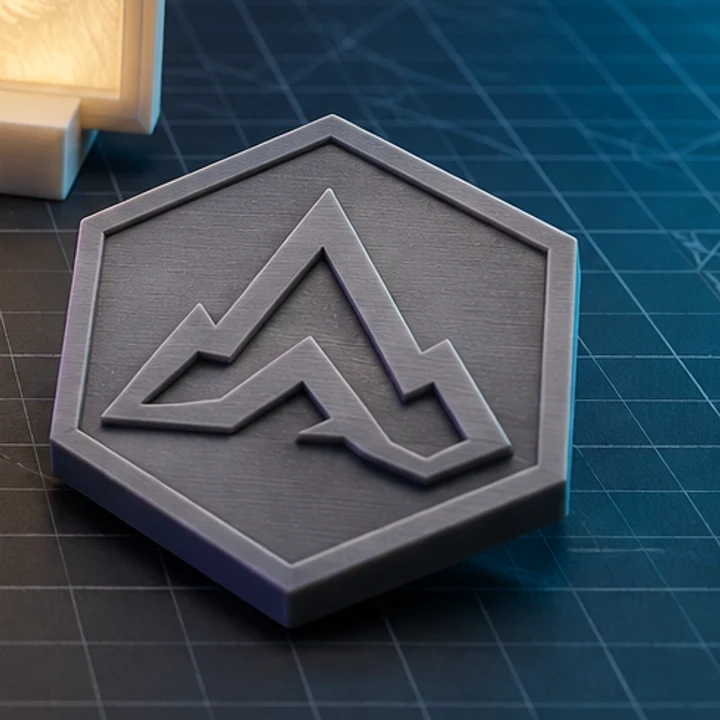
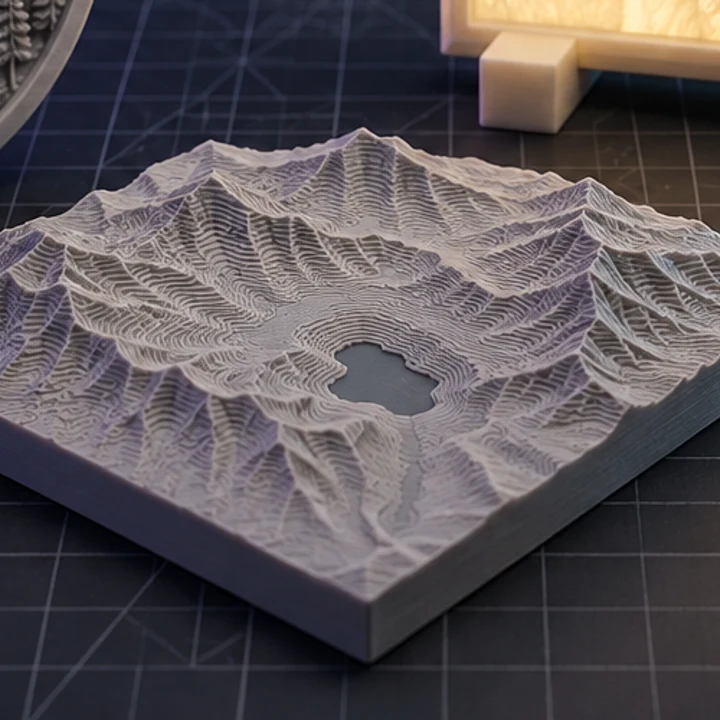
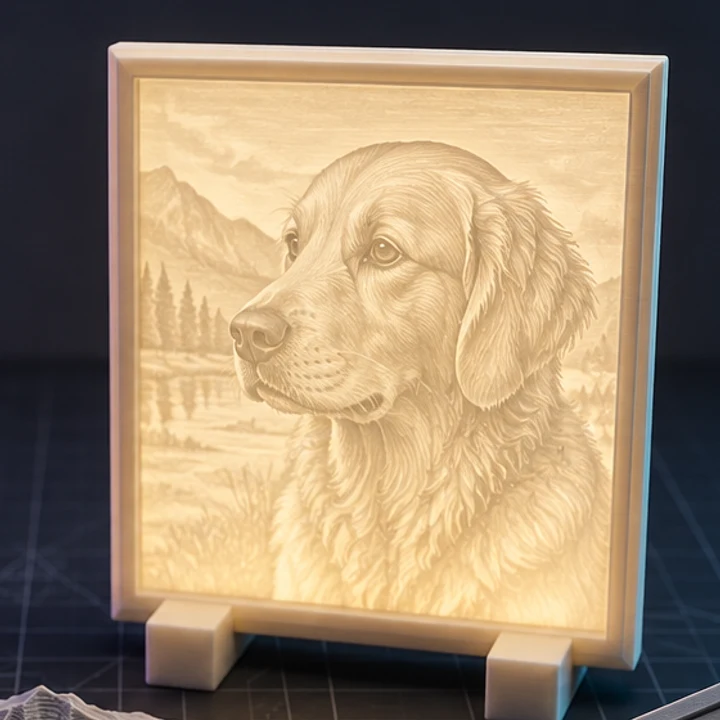
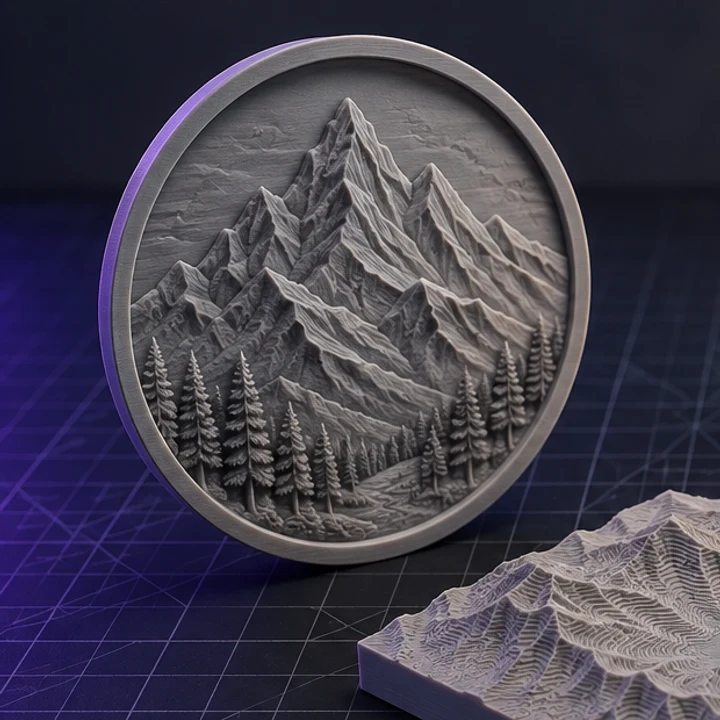
The converter treats brightness as elevation. White pixels become the tallest points, black pixels sit at the base, and everything between is interpolated. That height field is then closed with a solid floor and four side walls so the result is a printable solid rather than an open surface.
Between 512 and 2048 pixels on the long edge is the sweet spot. Below 256 pixels the relief looks blocky. Above 2048 you mostly add triangles and file size without visible detail, because a 0.4mm nozzle cannot resolve features finer than about 0.3mm anyway.
Photographic grain and JPEG artefacts both become geometry. Raise Smoothing to average neighbouring pixels, then raise Contrast to recover the definition you lost. Two to three steps of smoothing usually removes noise without flattening real detail.
Yes. Width and height are typed in millimetres and the mesh is generated at that size, so no scaling is needed in your slicer. Relief height and base thickness are also millimetres, which lets you match a specific plate thickness.
It does. The build runs in a worker thread and the viewport uses WebGL, both of which modern mobile browsers support. Very large images at Fine detail can be slow on older phones, so start at Balanced.
Jump straight to the converter tuned for your source file.
Relief and lithophane conversion is free, unlimited, and runs entirely in this browser. AI reconstruction starts with one free trial model.