
Thickness mapped for transmission
Depth is inverted and constrained to a range light can actually pass through, so you get real tonal range instead of a uniformly dark panel.
LITHOPHANE MAKER
Turn a photo into a backlit lithophane panel. Dark areas print thick, light areas print thin, and the backlight preview shows how it will look before you print.
Upload once and a printable relief STL starts building in this browser. Best for logos, portraits, terrain, signs, and lithophanes.
A lithophane works by modulating wall thickness so a light behind it is blocked more where the image should be dark. That inverts the usual relief logic and demands a much thinner overall range, typically 0.8mm at the brightest points rising to under 3mm at the darkest. This page opens with that mapping already inverted, the wall range set for transmission, and detail at Fine, because a lithophane is judged on tonal gradation rather than crisp edges.
LITHOPHANE MAKER
Drag in a PNG, JPG, or WebP, paste from the clipboard, or start from a built-in sample.
Type the width, height, relief depth, and base thickness in millimetres and watch the mesh rebuild live.
Read the open-edge and manifold report, then export a binary STL straight into your slicer.
Depth is inverted and constrained to a range light can actually pass through, so you get real tonal range instead of a uniformly dark panel.
Toggle the backlight in the viewport to see the transmitted image rather than the surface relief, which is the only view that predicts the printed result.
A narrow thickness range compresses tone. Contrast starts raised to restore separation, so faces stay recognisable when lit.
Every slider rebuilds the real mesh in a worker thread. What you orbit is the file you download.
Width, height, relief depth, and base thickness are typed in real units, so the plate fits your bed the first time.
Open edges, non-manifold edges, degenerate faces, triangle count, volume, and bed contact are all reported.
Relief, lithophane, viewer, and converter work never leaves the browser. Only AI generation uploads anything.
Export binary STL, GLB, glTF, OBJ, or PLY, and convert between them without installing a modelling suite.
Unlimited local conversion with no watermark, no daily cap, and no account. Credits apply only to AI generation.
Relief mode extrudes brightness into height. AI mode reconstructs a full closed volume.
| Relief / Lithophane | AI 3D Object | |
|---|---|---|
| Best input | Logos, line art, portraits, terrain, height maps | Product shots, characters, props, toys |
| Output shape | Raised plate with a flat back | Closed volume with a real back and sides |
| Typical wait | Under 3 seconds | 40 seconds to 4 minutes |
| Where it runs | This browser only | Uploaded to the model provider |
| Cost | Free and unlimited | From 8 credits per model |
Four builds produced with the presets on this page, exported as printed.
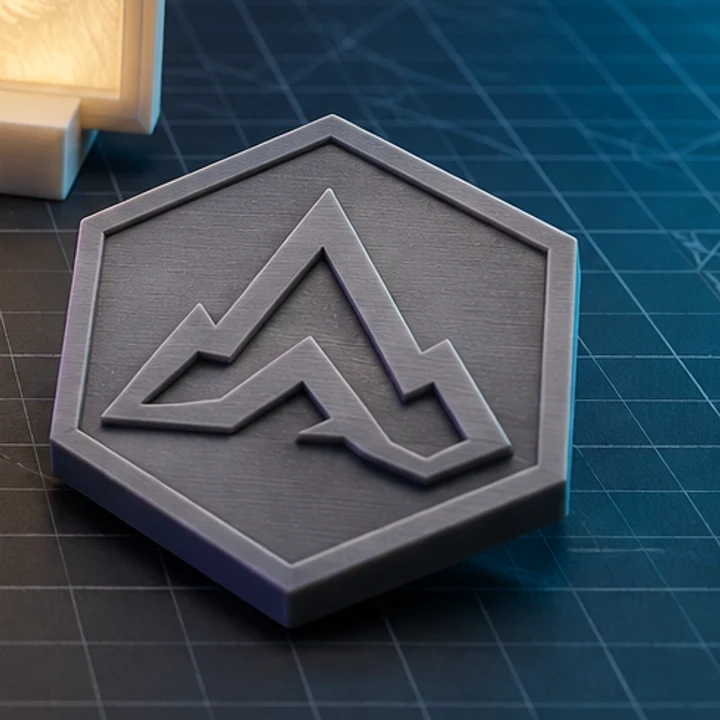
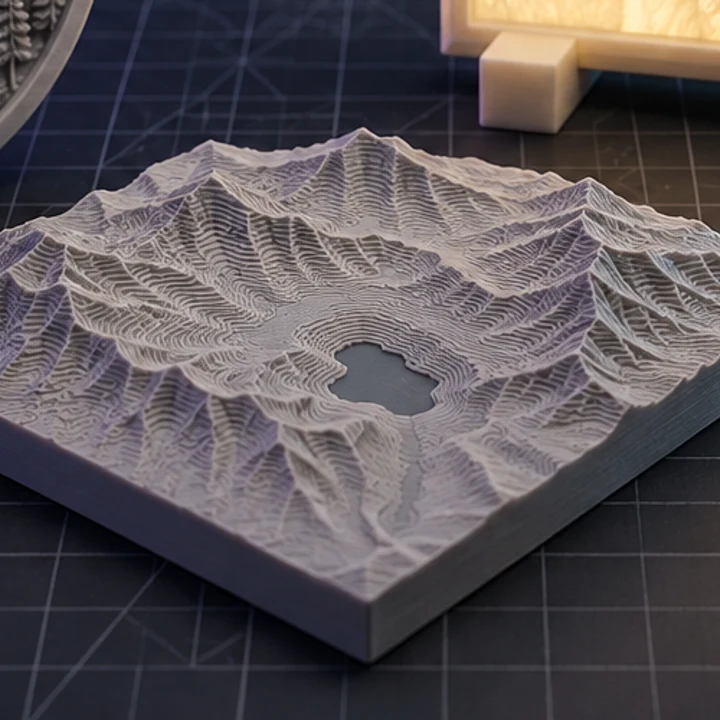
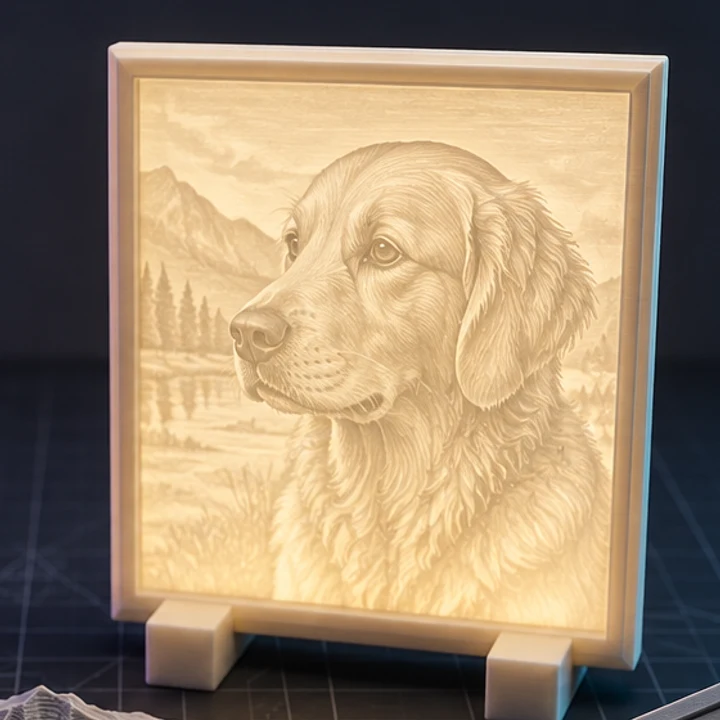
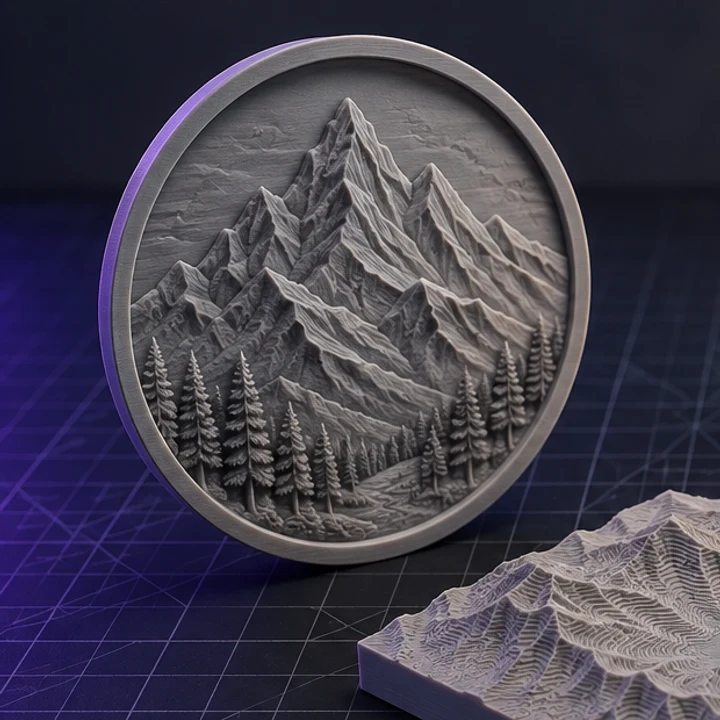
A minimum of 0.6 to 0.8mm at the brightest points and a maximum of 2.5 to 3mm at the darkest. Thinner than 0.6mm and the wall becomes fragile and prints unreliably; thicker than 3mm and almost no light gets through, so the highlights lose their range.
White or natural PLA is the standard choice because it diffuses light evenly. Avoid dark, metallic, or silk filaments, which block or scatter light unpredictably. Printing with no infill and 100% wall thickness gives the most consistent transmission.
Vertically, standing on its edge, with a layer height of 0.1 to 0.12mm. Printing flat makes each layer line run across the image and shows up as banding when lit. Vertical printing hides the layer lines in the viewing direction.
The thickness range is too narrow or the source image is too low in contrast. Increase the maximum relief height slightly, raise Contrast, and make sure the photo itself has real blacks and whites rather than sitting in the middle grey band.
No, but diffuse and even beats bright and focused. A flat LED panel or a frosted bulb gives a smooth result. A bare point-source LED creates a hot spot that overwhelms the tonal detail in the centre of the panel.
Jump straight to the converter tuned for your source file.
Relief and lithophane conversion is free, unlimited, and runs entirely in this browser. AI reconstruction starts with one free trial model.