
Noise handled up front
Two steps of box smoothing average out 8×8 block artefacts before they reach the mesh, so skin and sky stay smooth instead of stippled.
JPG TO STL
Convert photographs into printable relief geometry. Smoothing presets handle JPEG noise so faces and landscapes come out readable instead of grainy.
Upload once and a printable relief STL starts building in this browser. Best for logos, portraits, terrain, signs, and lithophanes.
JPEG compression is lossy, and every artefact it leaves behind becomes a real bump when brightness is read as height. That is why this page opens with smoothing already applied and contrast slightly boosted: the first pass removes compression noise, the second restores the tonal separation that makes a subject readable in relief. It is the same engine as the general image converter, started from settings that suit photographs.
JPG TO STL
Drag in a PNG, JPG, or WebP, paste from the clipboard, or start from a built-in sample.
Type the width, height, relief depth, and base thickness in millimetres and watch the mesh rebuild live.
Read the open-edge and manifold report, then export a binary STL straight into your slicer.
Two steps of box smoothing average out 8×8 block artefacts before they reach the mesh, so skin and sky stay smooth instead of stippled.
Photographs often occupy a narrow tonal band. Raising contrast pushes highlights and shadows apart so the relief reads clearly from an angle.
Width and height are independent, and the aspect lock keeps a 3:2 photo from being squashed into a square plate.
Every slider rebuilds the real mesh in a worker thread. What you orbit is the file you download.
Width, height, relief depth, and base thickness are typed in real units, so the plate fits your bed the first time.
Open edges, non-manifold edges, degenerate faces, triangle count, volume, and bed contact are all reported.
Relief, lithophane, viewer, and converter work never leaves the browser. Only AI generation uploads anything.
Export binary STL, GLB, glTF, OBJ, or PLY, and convert between them without installing a modelling suite.
Unlimited local conversion with no watermark, no daily cap, and no account. Credits apply only to AI generation.
Relief mode extrudes brightness into height. AI mode reconstructs a full closed volume.
| Relief / Lithophane | AI 3D Object | |
|---|---|---|
| Best input | Logos, line art, portraits, terrain, height maps | Product shots, characters, props, toys |
| Output shape | Raised plate with a flat back | Closed volume with a real back and sides |
| Typical wait | Under 3 seconds | 40 seconds to 4 minutes |
| Where it runs | This browser only | Uploaded to the model provider |
| Cost | Free and unlimited | From 8 credits per model |
Four builds produced with the presets on this page, exported as printed.
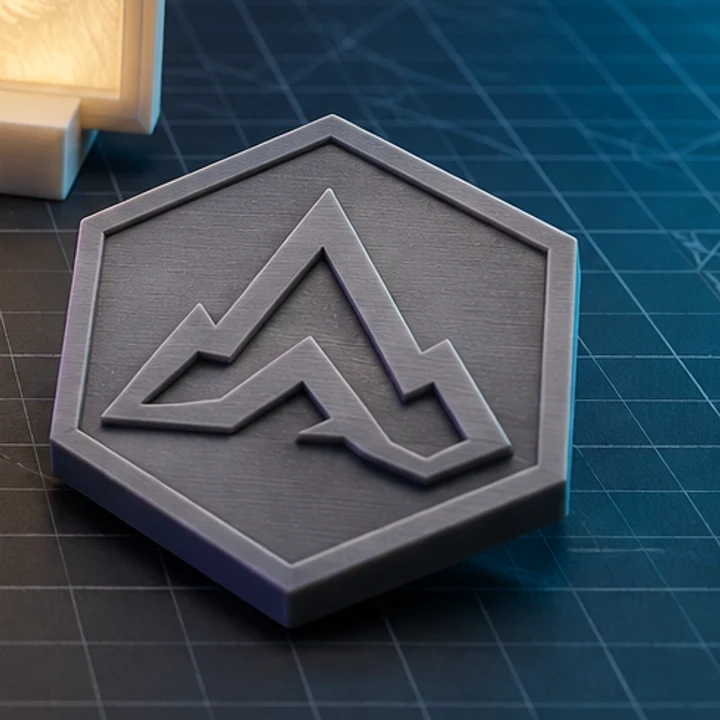
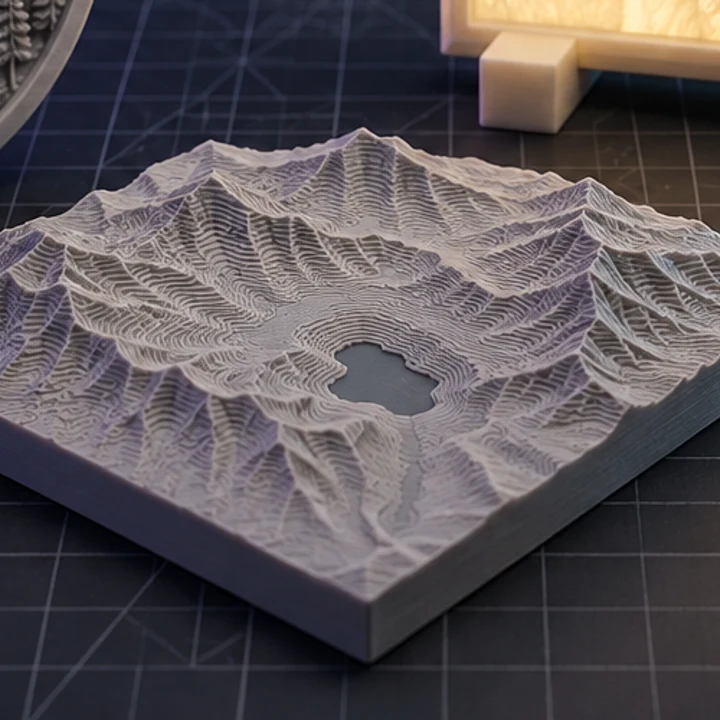
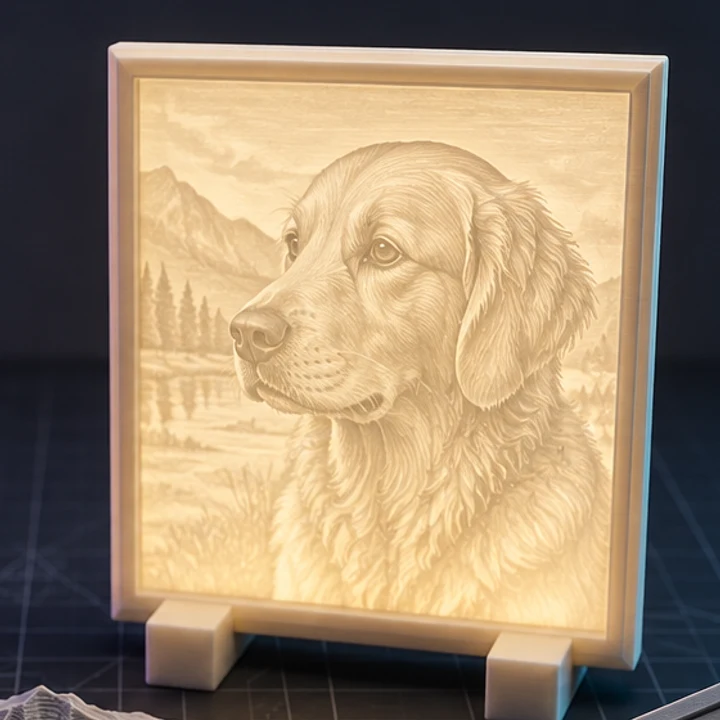
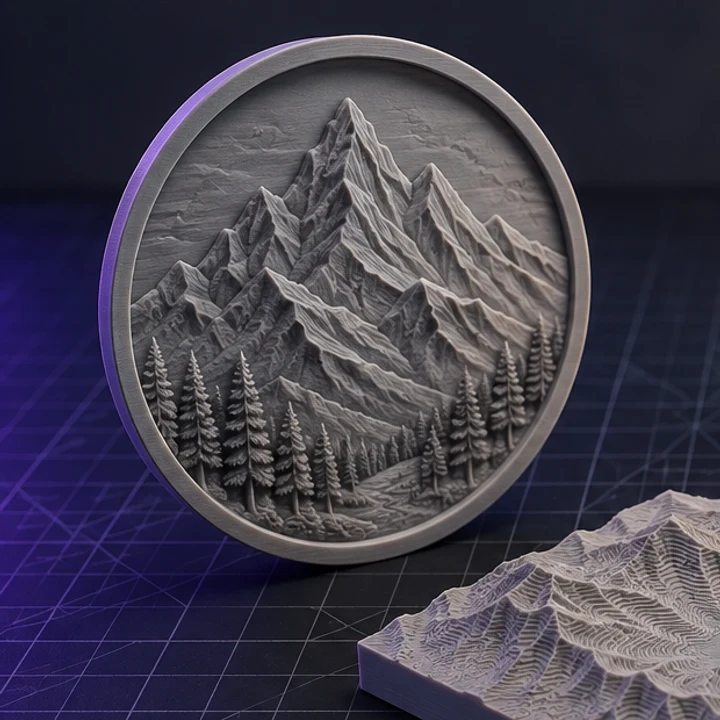
Ones with a clear subject and an uncluttered background. Front-lit faces, silhouettes, and simple landscapes work best. Busy scenes convert into noise because every background object competes for the same height range as your subject.
You do not have to. Luminance is computed with the standard Rec. 709 weighting, so coloured images are handled correctly. Converting to greyscale yourself is only useful when you want to hand-tune specific tones before extrusion.
For a viewed-from-the-front plaque, 4 to 6mm of relief over a 1.5 to 2mm base reads well. Going deeper exaggerates midtones and can make a face look distorted. If you want a backlit result instead, use the lithophane maker, which needs far thinner walls.
Because they share a brightness range. Mask or crop the background in an image editor, or increase contrast so the subject separates. Relief has no notion of foreground; it only sees tone.
Yes. A heavily compressed image carries visible blocking that becomes geometry. Start from the highest-quality version you have, ideally the original camera file rather than a copy pulled from a messaging app.
Jump straight to the converter tuned for your source file.
Relief and lithophane conversion is free, unlimited, and runs entirely in this browser. AI reconstruction starts with one free trial model.